
AWS Device Farm lets you test mobile apps on real devices in the cloud. The setup isn’t complicated, but there are several steps — and a few gotchas the documentation doesn’t emphasize.
This guide walks through the complete setup process, from IAM configuration to running your first test.
Prerequisites
Before you start:
- An AWS account
- Your app binary (
.apkfor Android,.ipafor iOS) - Test package (optional — you can use built-in fuzz testing first)
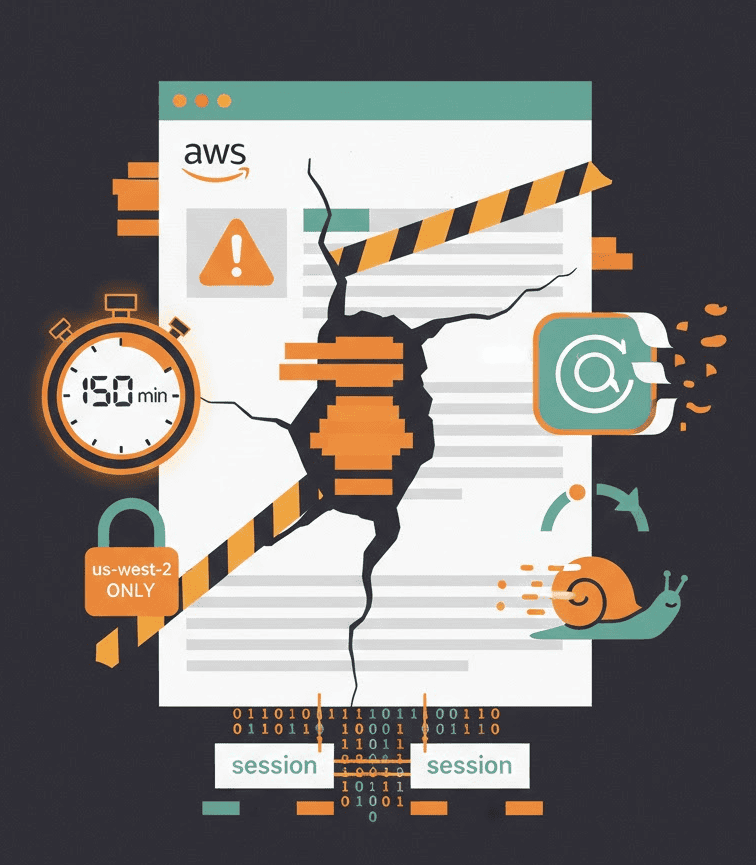
Region note: Device Farm is only available in us-west-2 (Oregon). All resources must be created in this region.
Step 1: Set Up IAM Permissions
Don’t use your root AWS account. Create an IAM user with Device Farm permissions.
Create a Policy
Go to IAM → Policies → Create Policy. Use this JSON:
{
  "Version": "2012-10-17",
  "Statement": [
    {
      "Effect": "Allow",
      "Action": [
        "devicefarm:*"
      ],
      "Resource": "*"
    }
  ]
}
Name it something like DeviceFarmFullAccess.
Create a User
Go to IAM → Users → Create User:
- Enter a username (e.g.,
devicefarm-user) - Select “Programmatic access” if using CLI/API
- Attach the policy you created
- Save the access key and secret key
Step 2: Create a Project
Console Method
- Go to the Device Farm Console
- Make sure you’re in
us-west-2(Oregon) - Choose “Mobile Device Testing” → “Projects”
- Click “Create project”
- Enter a name (e.g., “MyApp-Tests”)
- Click “Create”
CLI Method
aws devicefarm create-project \
  --name "MyApp-Tests" \
  --region us-west-2
Save the project ARN from the response — you’ll need it for subsequent commands.
Step 3: Upload Your App
Console Method
- In your project, click “Create run”
- Under “Select app”, choose “Upload own app”
- Upload your
.apkor.ipafile - Wait for processing to complete
CLI Method
First, create an upload slot:
aws devicefarm create-upload \
  --project-arn "arn:aws:devicefarm:us-west-2:123456789:project/abc123" \
  --name "my-app.apk" \
  --type ANDROID_APP \
  --region us-west-2
This returns a pre-signed URL. Upload your file to it:
curl -T my-app.apk "https://prod-us-west-2-uploads.s3.amazonaws.com/..."
Important: App uploads expire after 30 days. You’ll need to re-upload periodically.
Step 4: Configure Your Test
You have several options:
Option A: Built-in Fuzz Testing (Easiest)
No test package needed. Device Farm randomly taps, swipes, and rotates to find crashes.
Good for: Initial smoke testing, crash discovery.
Option B: Appium Tests
Package your Appium tests as a .zip file:
# For Java/Maven
mvn clean package -DskipTests
cd target
zip -r test-package.zip dependency-jars/ *.jar
Upload with type APPIUM_JAVA_TESTNG or APPIUM_JAVA_JUNIT.
Option C: Espresso (Android)
Build your test APK:
./gradlew assembleDebugAndroidTest
Upload the resulting .apk with type INSTRUMENTATION.
Option D: XCUITest (iOS)
Build your test runner:
xcodebuild build-for-testing \
  -scheme YourScheme \
  -destination 'generic/platform=iOS'
Package the .xctestrun file and test binaries.
Step 5: Create a Device Pool
A device pool defines which devices to test on.
Console Method
- In your project, go to “Device pools”
- Click “Create device pool”
- Select devices or use rules (e.g., “All Android 13+ devices”)
- Save the pool
CLI Method
aws devicefarm create-device-pool \
  --project-arn "arn:aws:devicefarm:us-west-2:123456789:project/abc123" \
  --name "Android-Latest" \
  --rules '[{"attribute": "PLATFORM", "operator": "EQUALS", "value": "\"ANDROID\""}]' \
  --region us-west-2
Step 6: Schedule a Run
Console Method
- Click “Create run”
- Select your app
- Choose test type and upload tests (or select Fuzz)
- Select device pool
- Configure execution settings
- Click “Run”
CLI Method
aws devicefarm schedule-run \
  --project-arn "arn:aws:devicefarm:us-west-2:123456789:project/abc123" \
  --app-arn "arn:aws:devicefarm:us-west-2:123456789:upload/abc123/app" \
  --device-pool-arn "arn:aws:devicefarm:us-west-2:123456789:devicepool/abc123/pool" \
  --test '{"type": "BUILTIN_FUZZ"}' \
  --region us-west-2
Step 7: View Results
Tests usually start within minutes. Results include:
- Pass/fail status per device
- Screenshots
- Video recordings
- Device logs
- Performance data
Artifacts are stored for 400 days. Apps and test packages are deleted after 30 days.
Common Setup Issues
“Only available in us-west-2”
Device Farm only runs in Oregon. If you see errors about the service not being available, check your region.
iOS App Signing
Your .ipa must be signed for ad-hoc distribution. Device Farm re-signs apps with a wildcard profile, which removes certain entitlements:
- Push Notifications
- In-App Purchase
- Apple Pay
- HealthKit
- HomeKit
- Associated Domains
If your app depends on these, you’ll need workarounds or may not be able to test on Device Farm.
Test Package Structure
Appium test packages are picky. Common errors:
- Missing dependency JARs
- Wrong directory structure
- Incompatible Appium version
Use the official sample projects as templates.
150-Minute Timeout
Tests are forcibly stopped after 150 minutes per device. This is a hard limit. If your test suite takes longer, you’ll need to split it.
Pricing Quick Reference
See AWS Device Farm pricing for current rates:
| Option | Cost |
|---|---|
| Free trial | 1,000 device minutes (one-time) |
| Pay-as-you-go | $0.17 per device minute |
| Unmetered | $250/slot/month (unlimited minutes) |
| Private devices | Starting at $200/device/month |
A 10-minute test on 10 devices = 100 device minutes = $17.
Test Spec Files (Custom Environment)
For more control, use a custom test spec YAML:
version: 0.1
android_test_host: amazon_linux_2

phases:
  install:
    commands:
      - export APPIUM_VERSION=1.22.3
      - avm $APPIUM_VERSION

  pre_test:
    commands:
      - echo "Starting Appium server"
      - appium --log-timestamp &
      - sleep 10

  test:
    commands:
      - cd $DEVICEFARM_TEST_PACKAGE_PATH
      - mvn test -DsuiteXmlFile=testng.xml

artifacts:
  - $DEVICEFARM_LOG_DIR
CI/CD Integration
Jenkins
Use the AWS Device Farm plugin:
- Install “AWS Device Farm” plugin
- Add AWS credentials to Jenkins
- Add “Run Tests on AWS Device Farm” post-build action
GitHub Actions
- name: Run Device Farm Tests
  uses: aws-actions/configure-aws-credentials@v1
  with:
    aws-access-key-id: ${{ secrets.AWS_ACCESS_KEY_ID }}
    aws-secret-access-key: ${{ secrets.AWS_SECRET_ACCESS_KEY }}
    aws-region: us-west-2

- name: Upload and Run
  run: |
    # Upload app
    UPLOAD=$(aws devicefarm create-upload ...)
    # Upload tests
    # Schedule run
    # Poll for results
What the Docs Don’t Emphasize
Data Persistence
From AWS’s documentation:
“It is possible for data to persist between sessions in some cases, especially if you make use of the device system outside the context of your app.”
This means previous users’ data might be on “your” device, and your data might remain for the next user. Avoid testing with real credentials or sensitive data.
No Encryption at Rest
Device Farm data isn’t encrypted at rest by default. For compliance-sensitive apps, this matters.
Limited AWS Integration
Device Farm doesn’t integrate well with other AWS services. No native connections to Secrets Manager, EventBridge, or Lambda. You’ll build custom integrations if needed.
It’s Slow
User reviews consistently mention speed issues. Tests run slower than local execution due to cloud infrastructure overhead. Build in extra time for CI/CD pipelines.
For more on these limitations, see AWS Device Farm Documentation: What’s Missing. Also review the security implications before using real data.
Alternatives to Consider
If Device Farm’s constraints don’t fit:
- BrowserStack / Sauce Labs: More device variety, different pricing model. See Sauce Labs Pricing for comparison.
- Firebase Test Lab: Free tier, good for Android-first teams
- Your own devices: Full control, no per-minute fees, data stays local
For teams with strict data requirements or high test volumes, running Maestro, Appium, or Espresso on your own device infrastructure often makes more sense long-term.
Summary
AWS Device Farm setup requires:
- IAM user with Device Farm permissions
- Project created in us-west-2
- App uploaded (expires in 30 days)
- Test package or built-in test type
- Device pool selected
- Run scheduled
It works, but understand the limitations: 150-minute timeout, data persistence warnings, iOS entitlement restrictions, and slower execution than local testing.
Frequently Asked Questions
How do I set up AWS Device Farm?
AWS Device Farm setup requires: 1) Create an IAM user with Device Farm permissions, 2) Create a project in us-west-2 (Oregon), 3) Upload your app binary, 4) Configure your test package or use built-in fuzz testing, 5) Create a device pool, 6) Schedule a run.
What region is AWS Device Farm available in?
AWS Device Farm is only available in us-west-2 (Oregon). All resources must be created in this region, and all traffic routes through Oregon.
How much does AWS Device Farm cost?
AWS Device Farm offers a free trial with 1,000 device minutes. After that, pay-as-you-go costs $0.17 per device minute. Unmetered plans cost $250 per slot per month for unlimited minutes. Private devices start at $200 per device per month.
Does AWS Device Farm support Appium?
Yes. AWS Device Farm supports Appium with Java (TestNG or JUnit). You package your Appium tests as a ZIP file containing dependency JARs and upload it with type APPIUM_JAVA_TESTNG or APPIUM_JAVA_JUNIT.
Why won’t my iOS app work on AWS Device Farm?
AWS Device Farm re-signs iOS apps with a wildcard profile, which strips entitlements like Push Notifications, In-App Purchase, Apple Pay, HealthKit, and HomeKit. If your app depends on these features, it won’t work correctly on Device Farm.
Need mobile testing without cloud complexity? DeviceLab runs your tests on your own devices — same frameworks, no upload steps, no timeouts, no data leaving your network.