
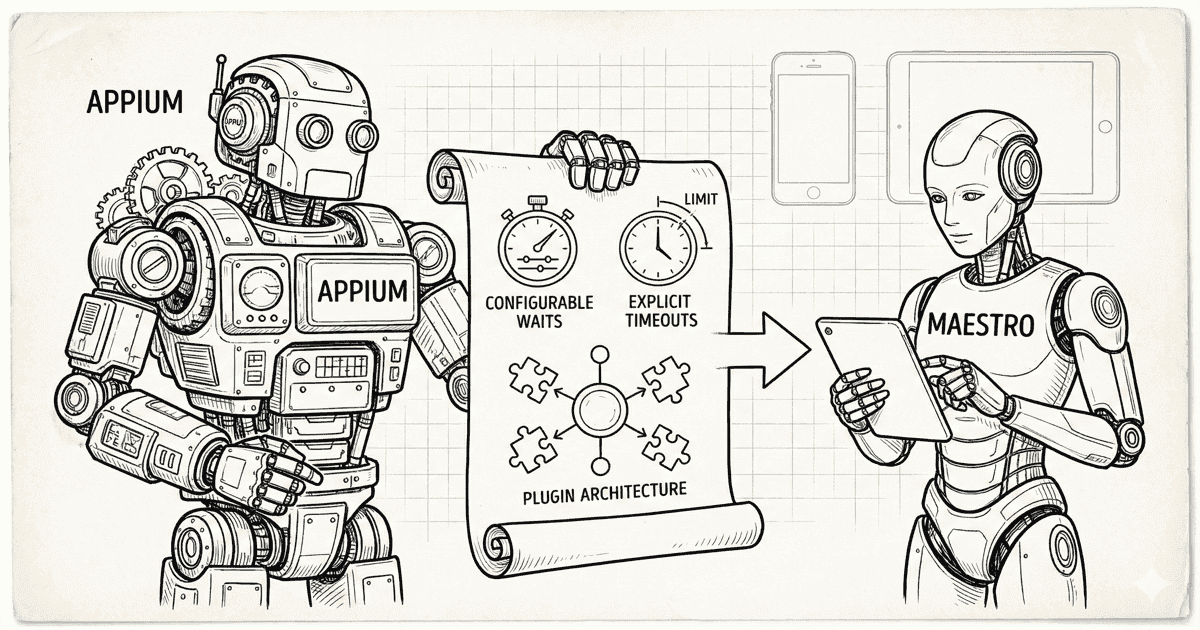
Appium has been the backbone of mobile test automation for over a decade. It’s survived iOS rewrites, Android fragmentation, and countless framework wars. Maestro is newer, simpler, and faster to adopt—but it’s missing patterns that Appium learned the hard way. For the full side-by-side breakdown, see our Maestro vs Appium comparison.
Here’s what Maestro could borrow from Appium’s playbook.
Lesson 1: Explicit Waits Are Not the Enemy
Maestro’s philosophy: “No need to pepper your tests with sleep() calls.”
Appium’s philosophy: “Give developers control, but make smart defaults easy.”
Appium’s FluentWait:
// Full control when you need it
Wait<WebDriver> wait = new FluentWait<>(driver)
    .withTimeout(Duration.ofSeconds(30))
    .pollingEvery(Duration.ofMillis(500))
    .ignoring(NoSuchElementException.class)
    .ignoring(StaleElementReferenceException.class);

WebElement element = wait.until(
    ExpectedConditions.elementToBeClickable(By.id("submit"))
);
What you can configure:
| Parameter | Appium | Maestro |
|---|---|---|
| Total timeout | ✅ Custom | ❌ 17s hardcoded |
| Polling interval | ✅ Custom | ❌ Tight loop |
| Exceptions to ignore | ✅ Custom list | ❌ None |
| Custom conditions | ✅ Lambda/function | ❌ None |
| Per-element timeout | ✅ Yes | ❌ No |
Why this matters:
// Appium: Different waits for different scenarios
WebDriverWait fastWait = new WebDriverWait(driver, Duration.ofSeconds(3));
WebDriverWait slowWait = new WebDriverWait(driver, Duration.ofSeconds(60));

// Quick check for optional element
try {
    fastWait.until(ExpectedConditions.visibilityOf(skipButton));
    skipButton.click();
} catch (TimeoutException e) {
    // Not there, move on quickly
}

// Patient wait for slow API response
slowWait.until(ExpectedConditions.visibilityOf(searchResults));
Maestro can’t do this. Every element gets the same 17-second timeout (see the source code analysis). Fast checks waste time. Slow operations fail.
Lesson 2: Timeouts Should Be Configurable at Every Level
Appium provides timeout configuration at multiple layers:
Global (Capabilities):
capabilities.setCapability("newCommandTimeout", 300);
capabilities.setCapability("implicitWait", 10000);
Session-level:
driver.manage().timeouts().implicitlyWait(Duration.ofSeconds(10));
driver.manage().timeouts().pageLoadTimeout(Duration.ofSeconds(30));
driver.manage().timeouts().scriptTimeout(Duration.ofSeconds(60));
Per-command:
new WebDriverWait(driver, Duration.ofSeconds(45))
    .until(ExpectedConditions.elementToBeClickable(slowButton));
Maestro’s approach:
# That's it. No configuration.
- tapOn: "Button"
What Maestro could add:
# Global config (doesn't exist)
config:
  timeouts:
    element: 30000
    animation: 5000
    script: 60000

# Per-command override (doesn't exist)
- tapOn:
    text: "Slow Button"
    timeout: 45000
Lesson 3: The Plugin Architecture
Appium’s killer feature isn’t the core—it’s the extensibility.
Appium’s plugin system:
# Install community plugins
appium plugin install images
appium plugin install execute-driver
appium plugin install relaxed-caps

# Run with plugins
appium --use-plugins=images,execute-driver
What plugins enable:
| Plugin | Capability |
|---|---|
images |
Visual comparison, find by image |
execute-driver |
Run batched commands |
relaxed-caps |
Flexible capability matching |
gestures |
Custom gesture support |
| Community plugins | Anything the community builds |
Maestro’s extensibility:
# runScript for JavaScript
- runScript:
    script: |
      // Limited to what's exposed
      output.result = "value";

# That's the extent of it
No plugin system. No community extensions. No way to add custom commands without forking the project.
What Maestro could add:
# Hypothetical plugin system
plugins:
  - maestro-plugin-visual
  - maestro-plugin-accessibility
  - maestro-plugin-performance

# Use plugin commands
- visual.compareScreenshot:
    baseline: "login-screen.png"
    threshold: 0.02

- accessibility.audit:
    level: "AA"
Lesson 4: Retry Logic That Actually Works
Appium doesn’t have built-in retries, but it gives you the primitives to build them properly.
Appium pattern for retries:
public void tapWithRetry(By locator, int maxAttempts) {
    int attempts = 0;
    while (attempts < maxAttempts) {
        try {
            WebElement element = wait.until(
                ExpectedConditions.elementToBeClickable(locator)
            );
            element.click();

            // Verify the tap worked
            if (verifyNavigation()) {
                return;
            }
        } catch (Exception e) {
            attempts++;
            if (attempts >= maxAttempts) throw e;
            sleep(1000 * attempts); // Exponential backoff
        }
    }
}
What you control:
- Number of retries
- Delay between retries
- Backoff strategy
- Success verification
- Which exceptions to retry
Maestro’s retry:
// From source code
private const val MAX_RETRIES_ALLOWED = 3

// Even if you write retry: 10, you get 3
Hardcoded. No backoff. No custom verification. No exception filtering.
What Maestro could add:
- tapOn:
    text: "Submit"
    retry:
      attempts: 5
      delay: 1000
      backoff: exponential
      verify:
        visible: "Success"
Lesson 5: Multi-Platform Abstraction Done Right
Appium’s architecture separates “what to do” from “how to do it.”
Appium’s driver architecture:
┌─────────────────────────────────────┐
│         Test Code (Java/Python)     │
├─────────────────────────────────────┤
│         WebDriver Protocol          │
├──────────┬──────────┬───────────────┤
│ XCUITest │ UiAuto2  │ Espresso      │
│ Driver   │ Driver   │ Driver        │
├──────────┼──────────┼───────────────┤
│   iOS    │ Android  │ Android       │
│ Devices  │ Devices  │ (in-process)  │
└──────────┴──────────┴───────────────┘
Benefits:
- Same test code, different drivers
- Platform-specific optimizations in drivers
- Community can build new drivers
- Swap drivers without changing tests
Maestro’s architecture:
┌─────────────────────────────────────┐
│           YAML Test Files           │
├─────────────────────────────────────┤
│         Maestro Monolith            │
│  (iOS + Android in one codebase)    │
├──────────┬──────────────────────────┤
│   iOS    │         Android          │
└──────────┴──────────────────────────┘
Everything is tightly coupled. Platform differences are handled with conditionals in the same codebase. You can’t optimize one without touching the other.
Why this matters:
When Maestro needs to add Flutter support, Windows support, or new iOS APIs, it’s a monolithic change. Appium’s Flutter driver is a separate project that slots into the ecosystem.
Lesson 6: Session Management
Appium treats sessions as first-class citizens.
Appium session control:
// Create session with specific state
DesiredCapabilities caps = new DesiredCapabilities();
caps.setCapability("noReset", true);      // Keep app data
caps.setCapability("fullReset", false);   // Don't reinstall
caps.setCapability("app", "/path/to/specific/build.ipa");

// Multiple sessions simultaneously
WebDriver driver1 = new IOSDriver(url, caps1);
WebDriver driver2 = new IOSDriver(url, caps2);

// Clean up explicitly
driver1.quit();
driver2.quit();
What you control:
| Capability | Effect |
|---|---|
noReset |
Keep app state between tests |
fullReset |
Complete reinstall |
app |
Specific build to test |
udid |
Specific device |
autoLaunch |
Control app launch |
eventTimings |
Performance data |
Maestro’s approach:
appId: com.company.app
# App is launched fresh every time
# No control over reset behavior
# No parallel sessions from same test
What Maestro could add:
appId: com.company.app
session:
  noReset: true
  keepData: true
  parallelCapable: true

# Or session-per-flow
- launchApp:
    session: "user-logged-in"
    inherit: "base-session"
Lesson 7: Detailed Logging and Debugging
When tests fail, you need information. Appium provides layers of debugging.
Appium’s logging:
# Server logs with timestamps
appium --log-level debug --log appium.log

# Session-specific logs
caps.setCapability("showIOSLog", true);
caps.setCapability("showXcodeLog", true);
What you get:
[HTTP] --> POST /session
[MJSONWP] Calling AppiumDriver.createSession()
[XCUITest] Launching WebDriverAgent...
[XCUITest] WebDriverAgent successfully started
[HTTP] <-- POST /session 200 3842 ms
[HTTP] --> POST /session/xxx/element
[XCUITest] Matched element: XCUIElementTypeButton[@name="Login"]
[HTTP] <-- POST /session/xxx/element 200 127 ms
Every command, every response, every timing.
Maestro’s logging:
[INFO] Tapping on "Login"
[INFO] Tap COMPLETED
Minimal. When something fails, you’re often guessing why.
What Maestro could add:
# Debug mode with full information
maestro test flow.yaml --debug --log-level verbose

# Per-command logging
- tapOn:
    text: "Login"
    debug: true  # Capture screenshots, hierarchy, timing
Lesson 8: The Ecosystem Matters
Appium’s power isn’t just the tool—it’s the ecosystem.
Appium ecosystem:
| Category | Examples |
|---|---|
| Language bindings | Java, Python, Ruby, C#, JavaScript |
| Cloud providers | BrowserStack, Sauce Labs, LambdaTest, HeadSpin |
| Reporting | Allure, ExtentReports, ReportPortal |
| CI integrations | Jenkins, GitHub Actions, CircleCI, Azure |
| IDE support | IntelliJ, VS Code, Eclipse |
| Parallel execution | Selenium Grid, custom farms |
Maestro ecosystem:
| Category | Options |
|---|---|
| Language | YAML only |
| Cloud providers | Maestro Cloud (proprietary) |
| Reporting | Built-in only |
| CI integrations | CLI-based (works anywhere) |
| IDE support | VS Code extension |
| Parallel execution | Limited |
Maestro’s simplicity is a feature, but the limited ecosystem is a constraint. Enterprise teams often need (see Maestro Test Reports: JUnit, HTML, Allure):
- Custom reporting formats
- Integration with existing test infrastructure
- Language flexibility for complex logic
- Multi-provider deployment options
What Maestro Gets Right
This isn’t all criticism. Maestro genuinely innovated:
YAML syntax:
# Readable by anyone
- launchApp
- tapOn: "Login"
- inputText: "[email protected]"
- tapOn: "Submit"
- assertVisible: "Welcome"
vs Appium:
driver.findElement(By.accessibilityId("Login")).click();
driver.findElement(By.accessibilityId("email"))
    .sendKeys("[email protected]");
driver.findElement(By.accessibilityId("Submit")).click();
new WebDriverWait(driver, Duration.ofSeconds(10))
    .until(ExpectedConditions.visibilityOfElementLocated(
        By.accessibilityId("Welcome")));
Built-in flakiness handling (when defaults work)
Fast local development (no server startup)
Low barrier to entry (no programming required)
The Best of Both Worlds
Maestro’s syntax + Appium’s reliability = what teams actually need.
Our approach:
We’re building an open-source engine that:
- Parses Maestro YAML — keep the beautiful syntax
- Runs on Appium — proven, configurable infrastructure
- Adds the escape hatches — when defaults fail, adjust them
# Maestro syntax you know
- tapOn: "Login"

# With Appium's configurability
config:
  timeouts:
    element: 30000
    animation: 5000
  retries:
    enabled: true
    attempts: 5
    backoff: exponential
The simplicity of Maestro for 80% of cases. The power of Appium for the other 20%.
Watch this space.
Series Conclusion
This four-part series examined Maestro’s “built-in flakiness handling” from every angle:
- Part 1: Code Deep-Dive — What the source code actually does
- Part 2: 15 GitHub Issues — Real users reporting real problems
- Part 3: When It’s Not Enough — Scenarios where defaults fail
- Part 4: Lessons from Appium — What a decade of mobile testing teaches us
Maestro is a great tool that made mobile testing accessible to more teams. But “built-in flakiness handling” isn’t magic—it’s trade-offs. When those trade-offs don’t fit your needs, you need options.
We’re building those options. Open source. Community driven. Best of both worlds.
- Part 1: Code Deep-Dive
- Part 2: 15 GitHub Issues
- Part 3: When Built-in Handling Isn't Enough
- Part 4: Lessons from Appium (You are here)